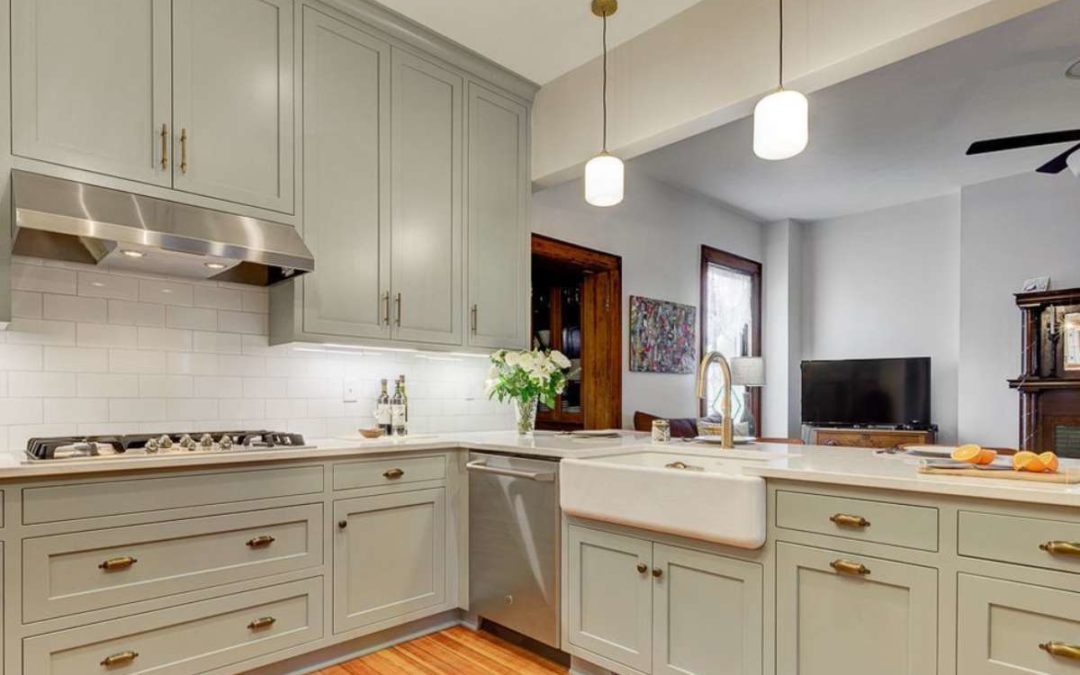
Are you tired of the look of your kitchen cabinets but don’t want to spend a fortune on a full remodel?
Painting your cabinets can give your kitchen a fresh new look without breaking the bank. Here’s a step-by-step guide to painting your kitchen cabinets.
If you are looking to paint your kitchen cabinets yourself here is a list of materials you will need:
- Sandpaper/sanding sponge (180 to 220-grit)
- Tack cloth
- Painter’s tape
- 3M Masking Plastic and Masking Paper
- Drop cloths
- Stain Blocking Primer
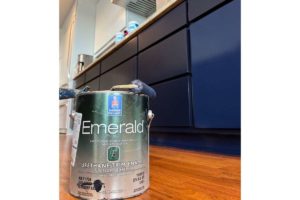
- A High Quality Enamel Paint (products like Sherwin Williams Urethane Trim Enamel, Benjamin Moore Advance are great for kitchen cabinets)
- Paint Sprayer
- Screwdriver or drill (for removing hinges and handle hardware)
While painting your cabinets yourself may seem like an easy task to undertake, it can take a lot of time and effort to do it right. Too often we’ve seen homeowners attempt to repaint their cabinets with the goal of getting a professional finish only to wind up disappointed in the outcome.
That’s why we always suggest working with a professional painter to handle such a project.
Our team of expert painters will transform your cabinets right before your eyes. If you’re interested in professional cabinet painting by Kind Home Painting Company, you can request your free consultation HERE.
Step 1: Establish a Game Plan for the Project
Before tackling your project, it is important to set a game plan on how you are going to work through the project.
Ask yourself: where are you going to organize and store the items in your cabinets? Where are you going to paint the doors and drawers?
What type of finish do you desire for the cabinets (sprayed or brushed/rolled)? What color should you choose and how will it affect the space?
*If you need help selecting your colors for your cabinet painting project, be sure to ask about our professional color consultations.
Depending on the size of your kitchen and number of cabinets/doors/drawers, it is usually easiest to take all of the doors and drawers to a separate location for more room. The garage or another room adjacent to the kitchen are great options to prep your cabinet doors and drawer faces.
- Take a photo or create a mock-up diagram of your kitchen cabinets before you remove the doors and drawers.
- Label the diagram of your door and drawers with a number or alphabetical system, i.e. top left cabinet is “1”, top middle cabinet door is “2”, top right is “3”, left drawer is “5”, etc.
- As you remove the cabinet doors and drawers, write the same letter or number on the inside of the hinge as your diagram. This will save you a lot of time when it comes time to reinstall your doors and drawers to the boxes!

Step 2: Preparation
The first step is to remove all items from inside the cabinets and drawers, and lay paper floor covering on the floor and tape the edges tight to the base trim of the cabinet boxes to protect it from paint drips (this is much more reliable than drop clothes which can slide around).
Remove any hardware, such as handles and knobs, using a screwdriver. You’ll also need to remove the hinges and place them inside of the same cabinet boxes so that everything goes back in the same place.
This will make it easier to adjust the cabinet doors to be plumb and level upon completion. Label the inside of the hinge cup on each door and the inside of the box with a piece that matches your diagram or photo.
Use painter’s tape to mask off areas you do not want to paint, such backsplashes, walls, ceilings, or countertops.
Clean the face of each cabinet door and drawer with a mild degreaser, such as Krud Kutter or SimpleGreen, to remove any built up grease or residue. Wipe any excess degreaser with warm water and a clean tack cloth.
Step 3: Sanding
Using sandpaper or sponge sanding sponge (180 to 220-grit), sand the surface of the cabinets, drawers, and doors.
This will help the primer adhere better to the surface. After sanding, wipe down the surfaces with a tack cloth to remove any dust.
Step 4: Priming
Apply a quality stain blocking primer to the surfaces using a paintbrush, roller, or airless sprayer. Be sure to follow the manufacturer’s instructions for application and drying time. The primer will help the paint adhere better and cover any imperfections.
Once the primer coat has dried, if there are any imperfections on the cabinet boxes, doors or drawers (i.e. sags from too much product, dust, a rouge hair, etc.) a light scuff sand of those areas will smooth out the surface. After that you’re ready to apply your finish coats!
Step 5: Painting
Once the primer has dried, you can apply the paint. Use a paint sprayer, paintbrush or roller to apply the paint evenly.
Be sure to follow the manufacturer’s instructions for application and drying time. You may need to apply multiple coats to achieve the desired color and finish.
Step 6: Finishing Touches
Once the paint has dried completely, you can reattach the hardware and remove the painter’s tape. Inspect your work and touch up any areas that need it.
Upgrade Your Kitchen Cabinets Today!
In conclusion, painting your kitchen cabinets is a great way to give your kitchen a new look without spending a lot of money. With the right materials and a little bit of patience, you can transform your kitchen into a beautiful space that you’ll love spending time in!
Reach out to our team at Kind Home Painting Company if you have any questions and we’d be happy to help you with your cabinet painting project!